
Before you start: Please ensure you are logged into your personal Facebook page and have admin permission to the business page.
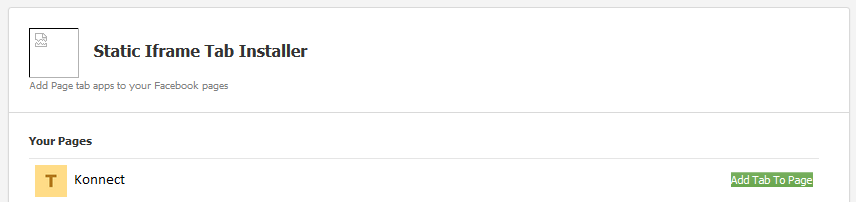
Step 1: Go to https://apps.facebook.com/iframehost/. You will see the following page. Click Add Tab to Page".
Step 2: Once the Static Iframe Tab installer has been installed, go onto your Facebook page.

step 3: Once you are on the home page of your store's Facebook page, on the left hand side you will see a "Welcome" tab. Select the tab.

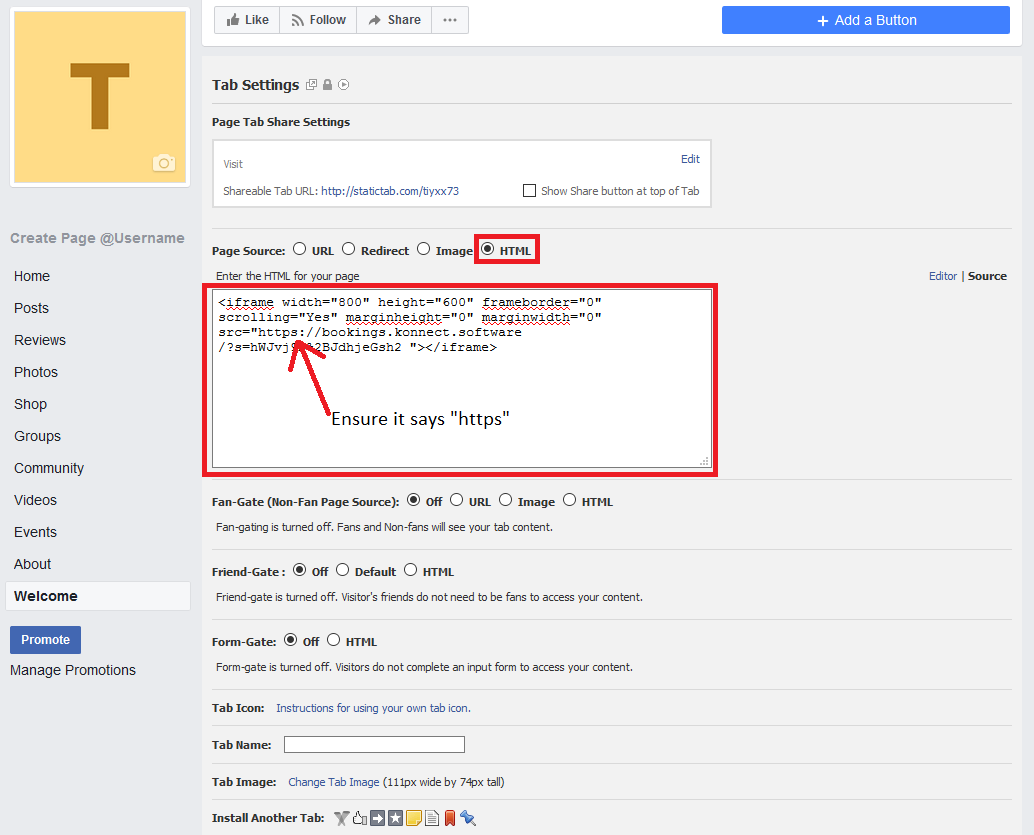
Step 4: Ensure that HTML is selected. Copy your IFrame Online Bookings Link in the box below. Ensure that your Online Booking Link contains "Https". Once done, click on Save Settings.
To learn how to find you IFrame Link, please click here.
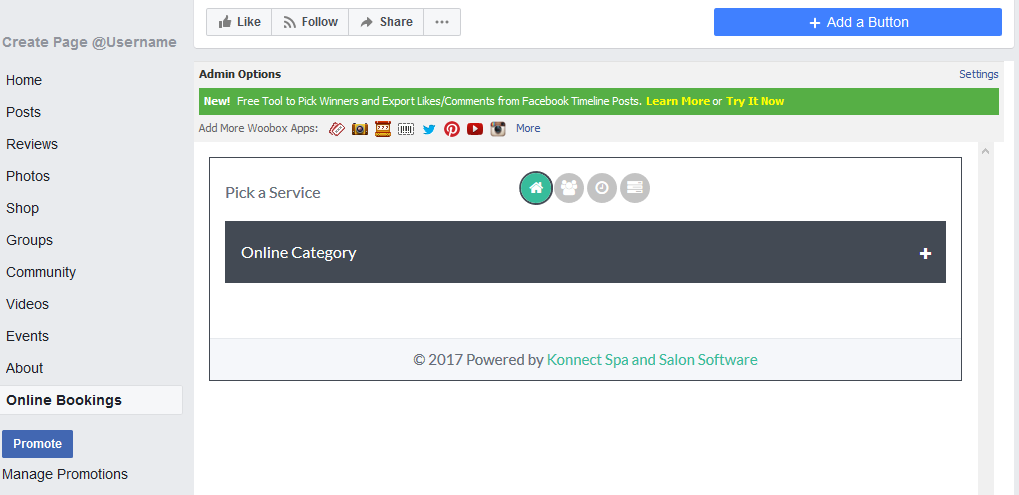
Step 5: Reload your Facebook page and select the "Welcome" tab again. Click on Settings.
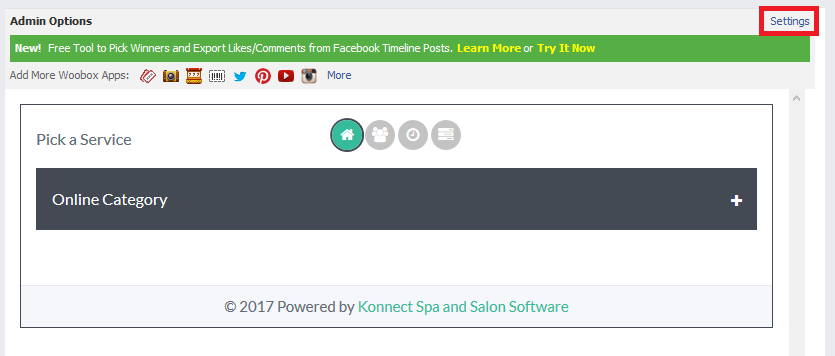
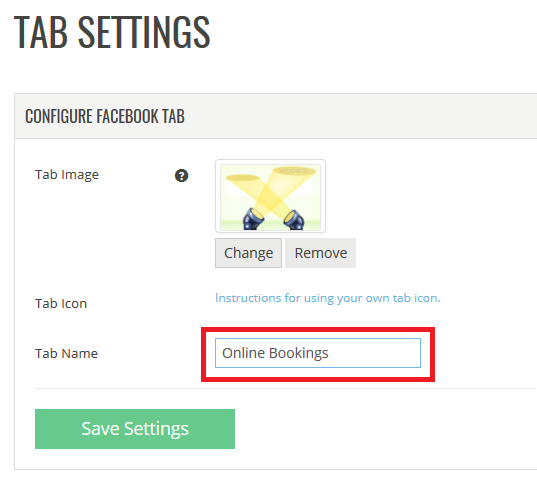
To change the name of the tab from "Welcome" to "Online Bookings"
Step 6: Once you are in settings, on the left hand side, click on Tab Settings.
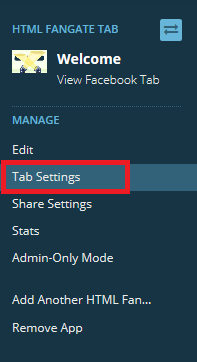
Step 7: Change the Tab Name to your desire and click Save Settings.
Note: To obtain your online booking link, please click here.
0 Comments