
Konnect can now intergrate with Xero to allow for more efficient accounting. This guide will help you to initially set up the link and upload your data to Xero. If you want to know more about how Xero works or about accounting, please consult with your accountant or book keeper. You may also review the Xero Help Centre at https://help.xero.com/au/ for further guidance.
The information uploaded from Konnect to Xero is point of sale (financial) information.
Before you start
It is important that your financial and declarations are correct within Konnect. If not your financial data will be inaccurate upon uploading onto Xero.
Getting started
Step 1: To begin reaping the benefit of Xero, sign up for a free trial on the Xero website at https://www.xero.com/au/ and follow the prompts. (If you already have a Xero account, skip this step).
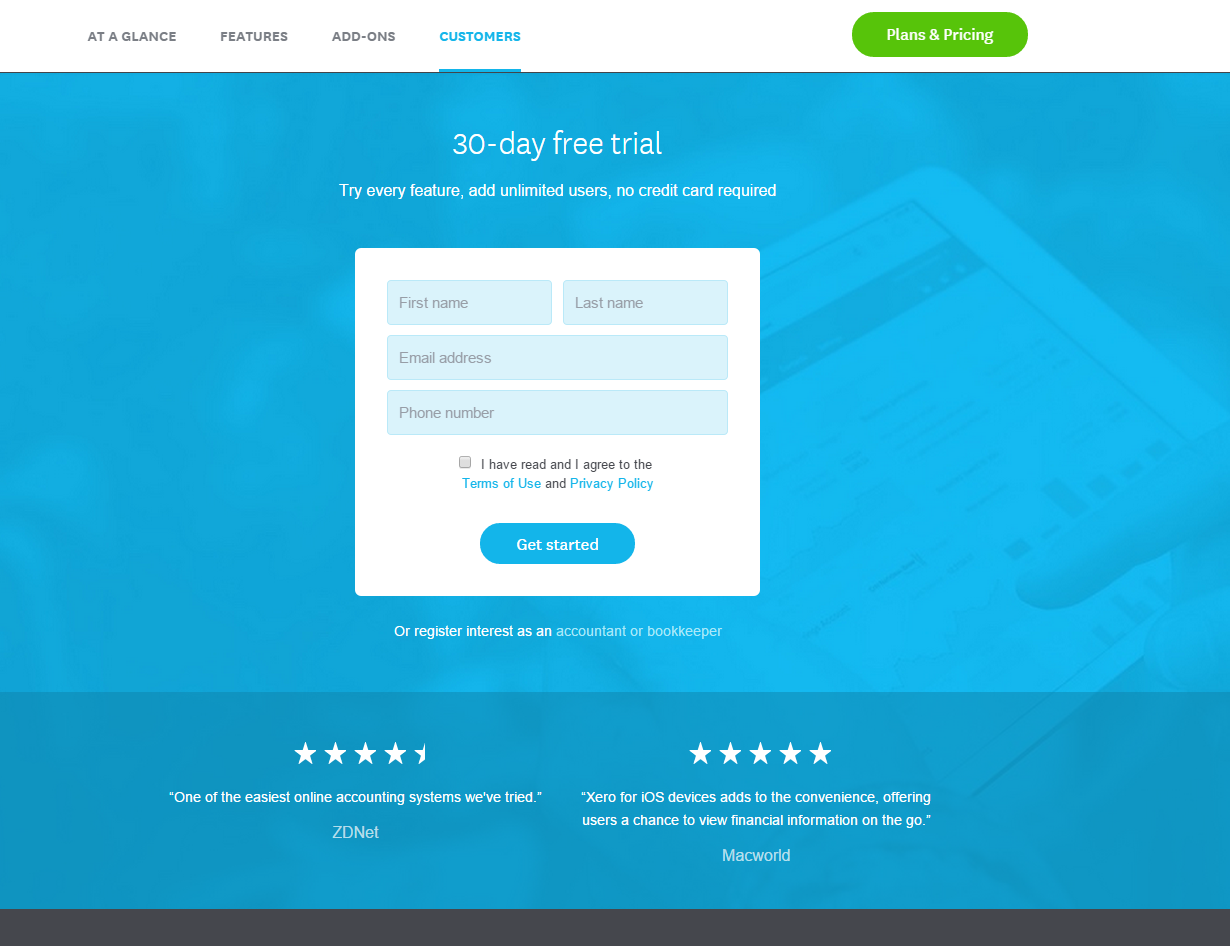
Step 2: Once you sign up and received your username and password, proceed with logging into your account.

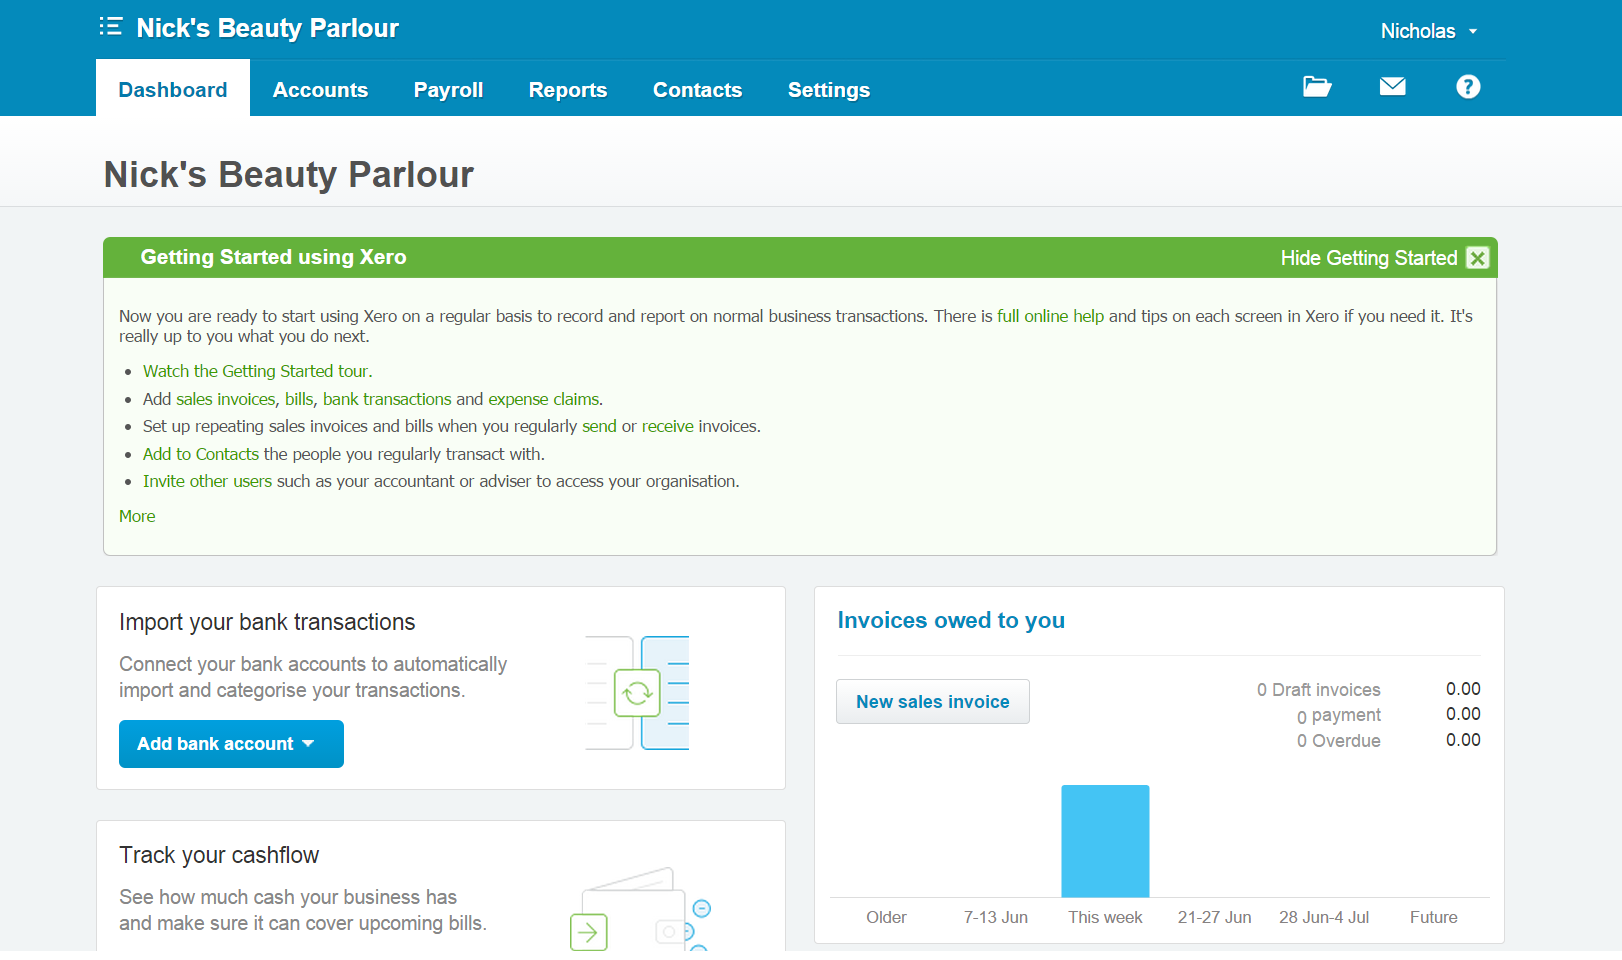
Step 3: Once you have your login details, proceed with logging into Xero to reveal your dashboard.
Getting Setup
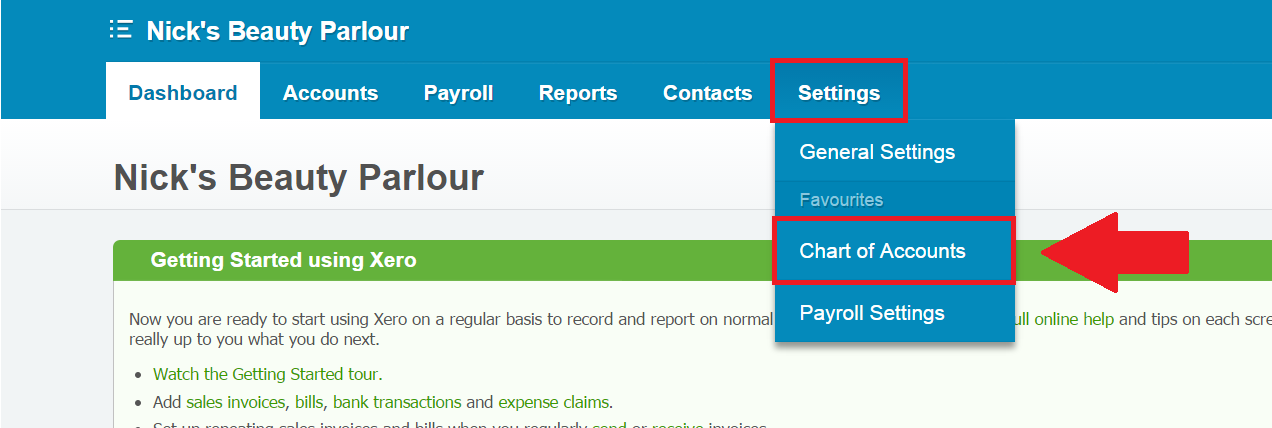
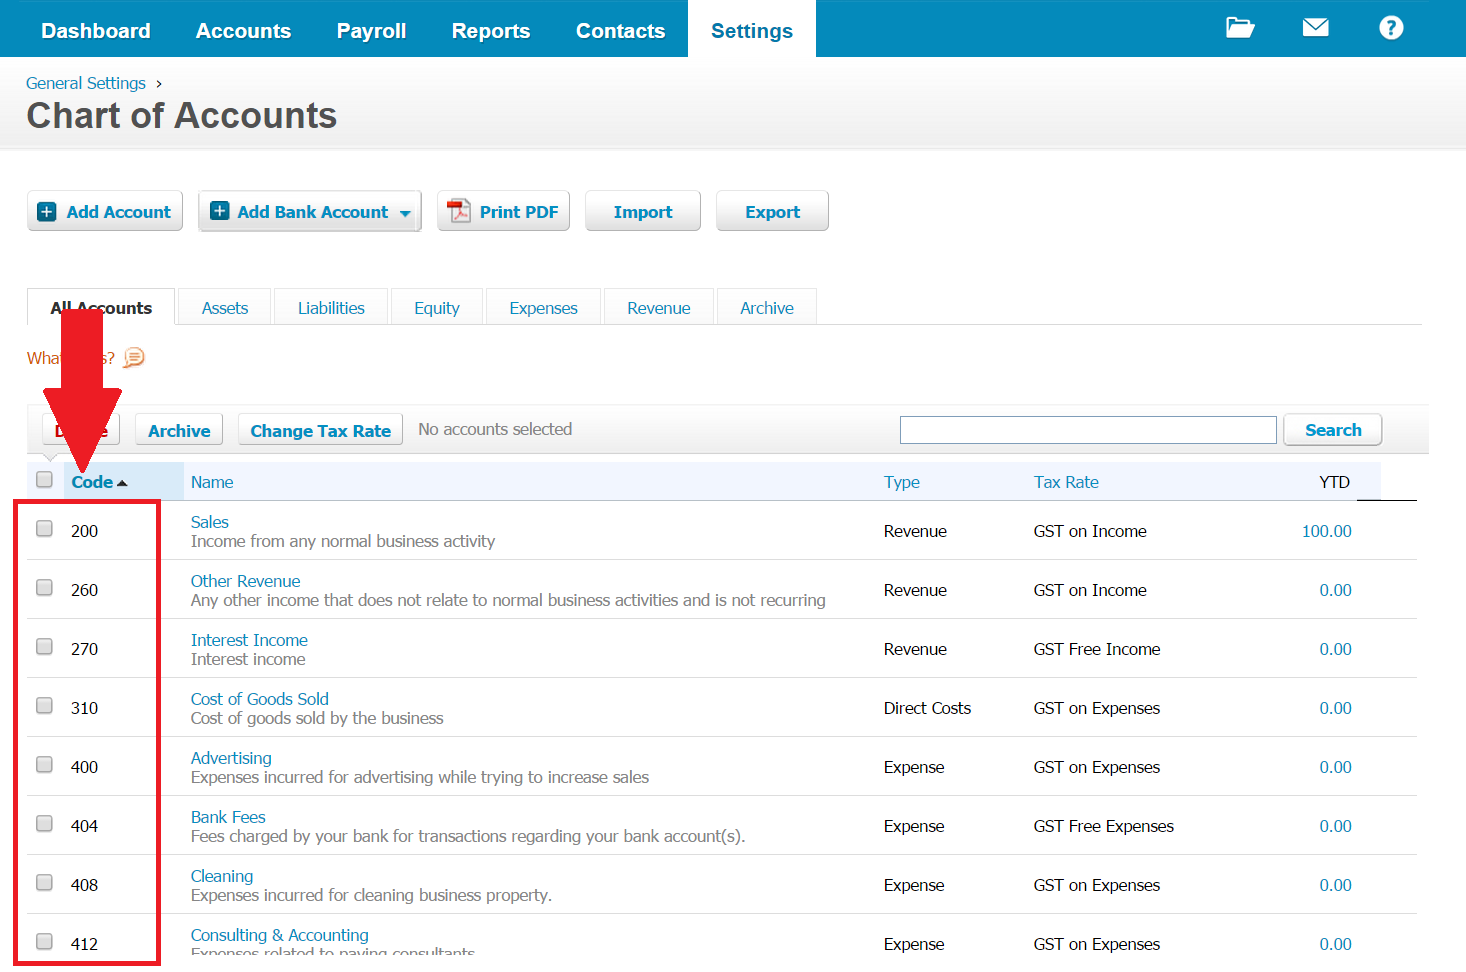
For Xero to recognise incoming data, it needs to have matching payment types to what you use within Konnect. To set this up, click on Settings -> Chart of Accounts.
Once selected, you will see the Chart of Accounts dash board. To add a new payment type, select Add Account.
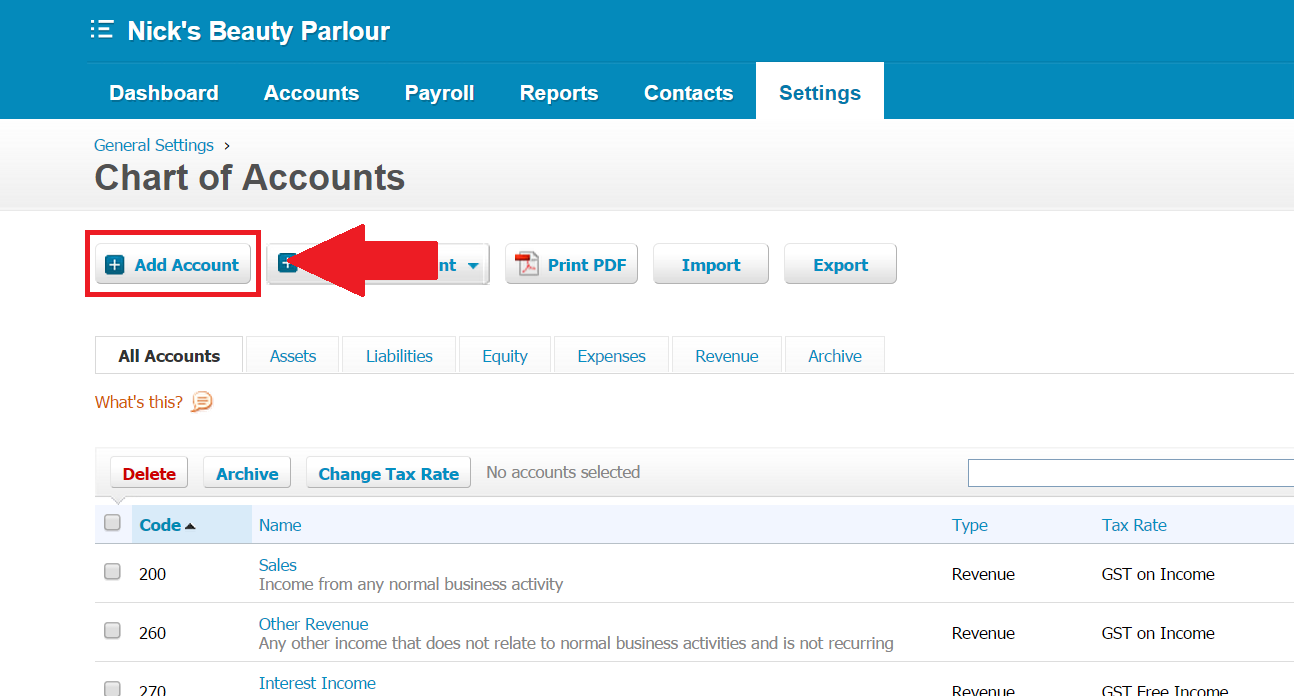
You will now see the form to add a new account.
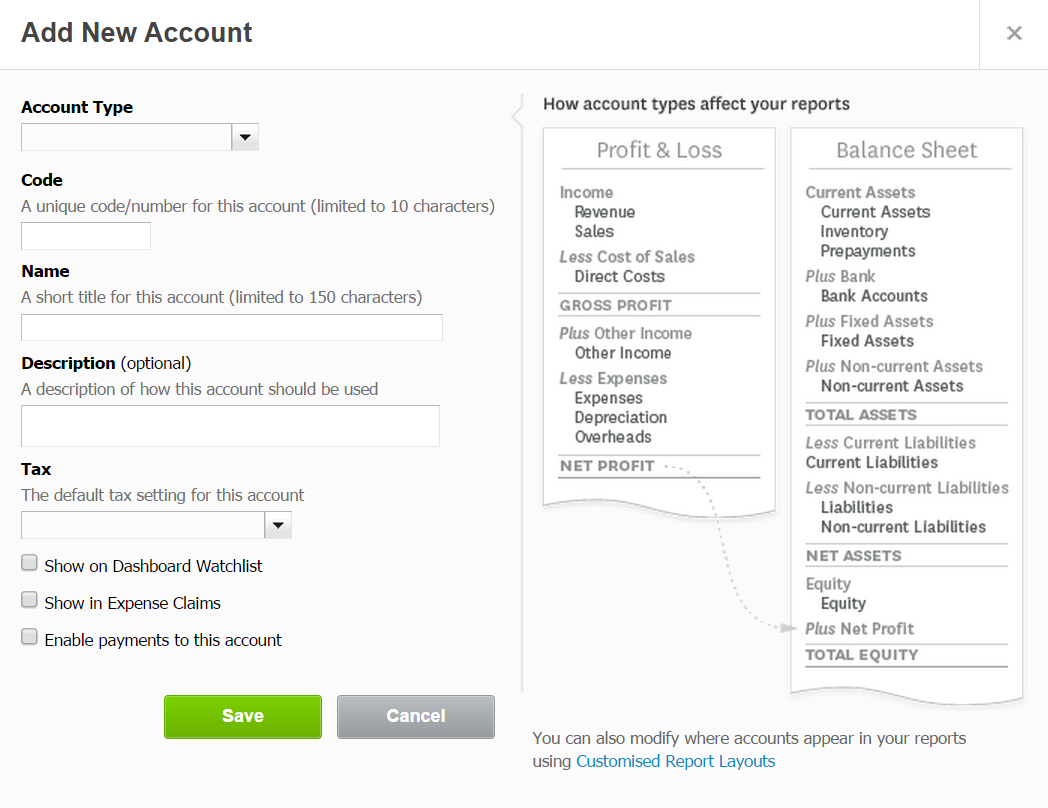
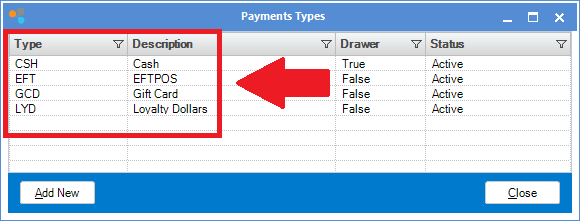
Proceed with adding your payment types as displayed on Konnect. To find the list of payments go to Administration and select Payment Types. Once done, click Save.


Once you have added your payment types, you may begin initiating upload via Konnect to Xero. For more information on how this is done, click here.
Linking accounting codes
Once you have done the preliminary setup, you can now link your categories within Konnect to the accounting codes currently available within Xero. The list of codes is located in the Chart of Accounts within the Settings page.
The Chart of Accounts is a list of accounts that every transaction you enter into Xero is 'coded' for management and reporting. You can leave it as it was originally set up or edit and delete items from it, or add your own to suit your business.
Note: You can still upload your data to Xero without setting up an accounting code however it would just default all your transactions to code 200 (sales).
To link the codes, go to the Products tab and select Categories.

The Categories list will show.

To link your categories, double click to bring up the Category Maintenance Page. In there you are able to then save the category code within Accounting System Code.

Once done, click Finish to save. Whenever you upload your data to Xero, it will link your categories to the codes to enable you to properly track your sales transactions etc.
YouTube Video:
0 Comments