
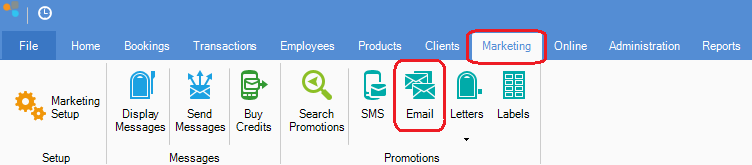
Step 1: Click on the Marketing tab and select Email.
Step 2: The Promotions Setup details window will open. Fill in the fields then click Next.
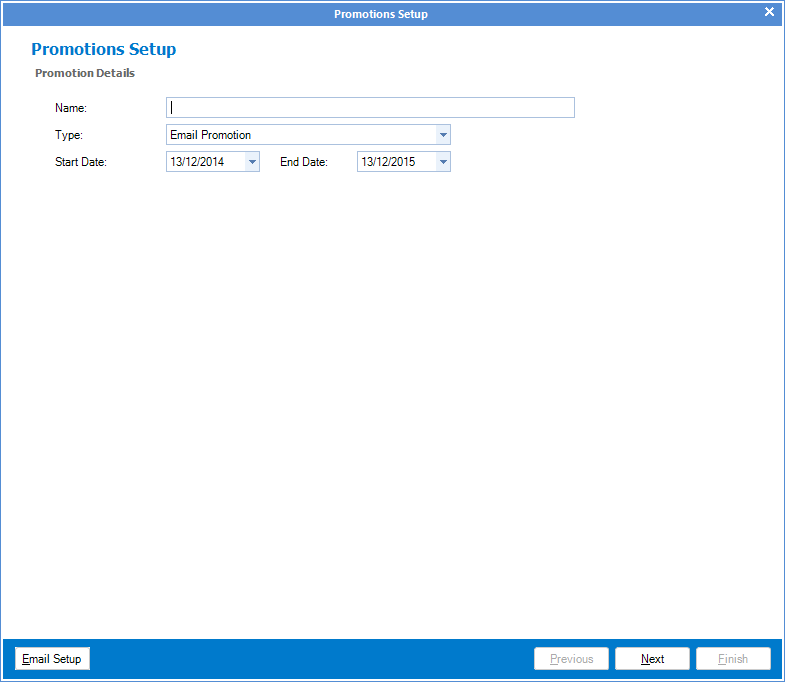
FIELDS
Name: The name of your promotion
Type: The type of promotion you are doing
Start Date: The start date of your promotion (This doesn't effect sending of the promotion. This is just for your reference)
End Date: The end date of your promtion (This doesn't effect sending of the promtion. This is just for your reference)
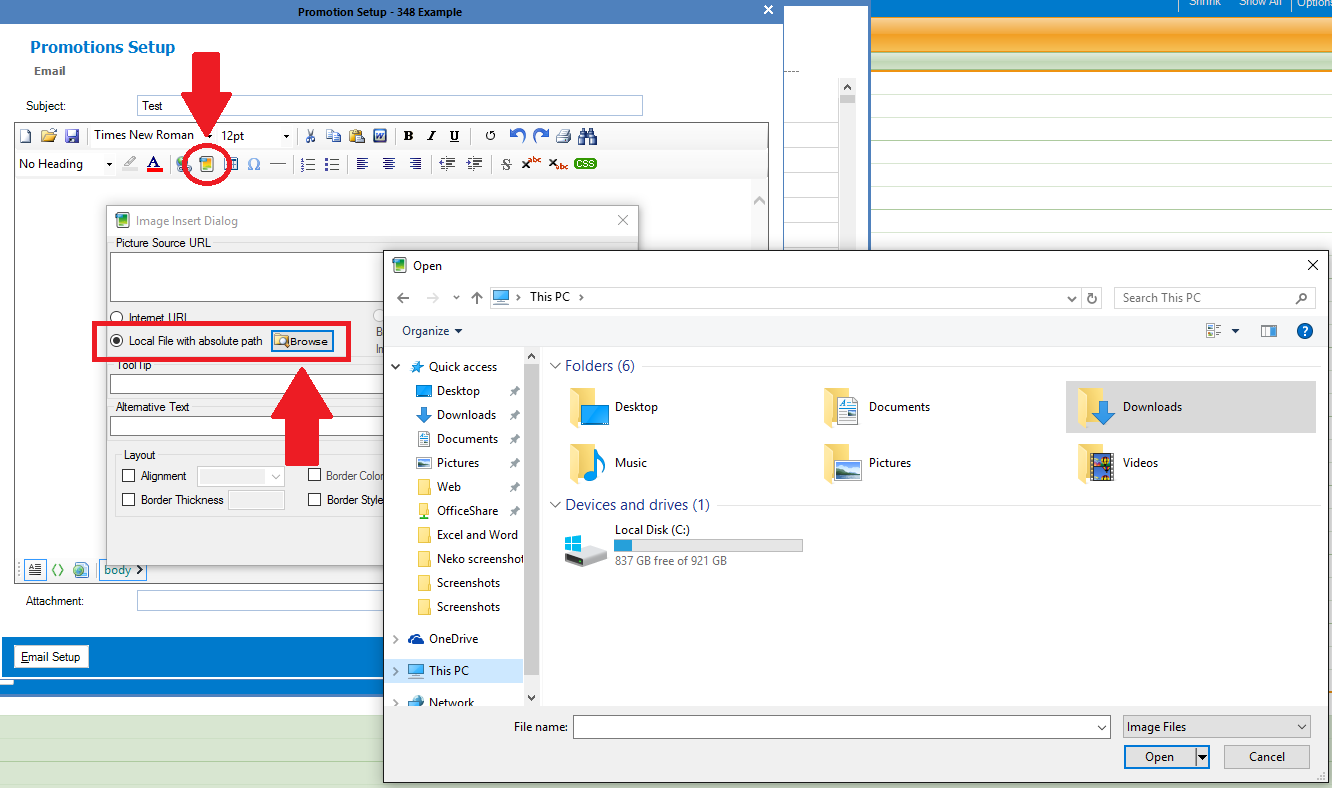
Step 3: Next you will see Promotions Setup email. You will be able to compose your email promotion here. Once done, click Next.

Hint: If you want to add images, simply click on the images icon as shown below:
Step 4: In Select Clients, you are able to select and customise the list of clients this promotion will be sent to.
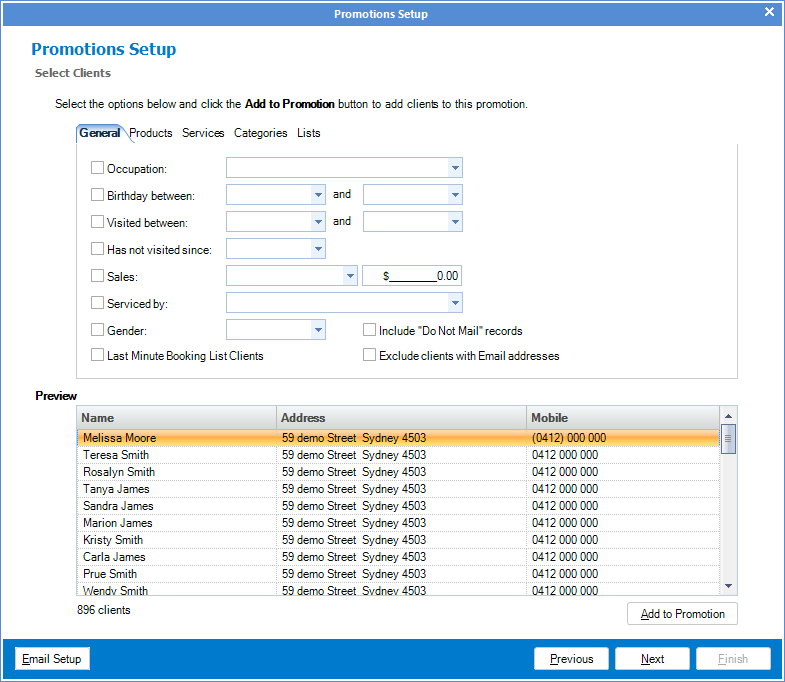
Step 5: Once you set and selected your intended clients, click Add to Promotion. On the next page you will see the list of clients who the promotion will be sent to. Once confirmed, click Next.
Step 6: Lastly you will see the Promotion Setup Communications page. Fill in the fields and once done, click Finish. 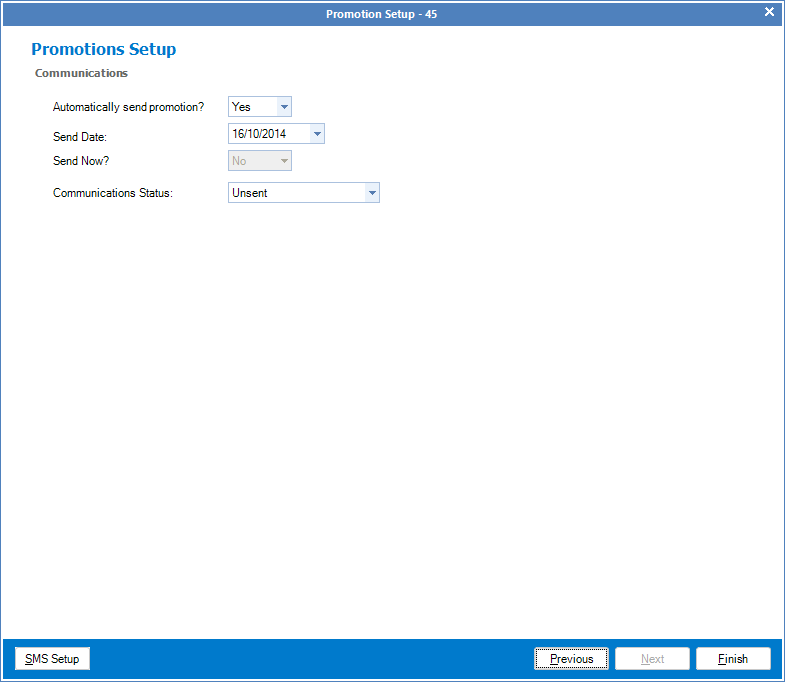
FIELDS
Automatically send promotion?: Select No if you want to manually send the promotion, Yes if you want Kronos to automatically send it for you
Send Date: If you selected "Yes" in the above field, you need to select the date that you would like the promotion to be sent out.
Send Now?: If you selected "No" you need to decide if you would like to send to promotion now "Yes" or not "No"
Communications Status: Stays as Unsent
Pausing and resuming campaign creation
If you have started on creating a campaign but not yet ready to send it out, simply select No in both Automatically Send Promotion and Send Now. This will put the promotion on the Drafts list, to which you can re-open later to finish your campaign.
YouTube Video:
0 Comments