
Rosters are set within the software's Employee maintenance tab. It is recommend for employees whose working hours differs every week. For employees who work the same hours every week, it is recommend that default working hours is used.
Note: An active roster will always override an employee's default working hours.
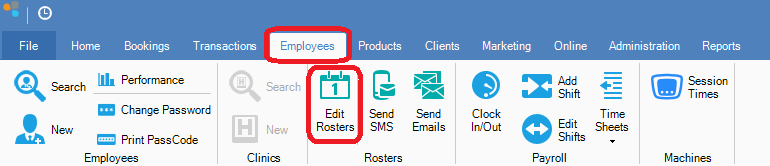
Step 1: Go to Employees and select Edit Rosters.
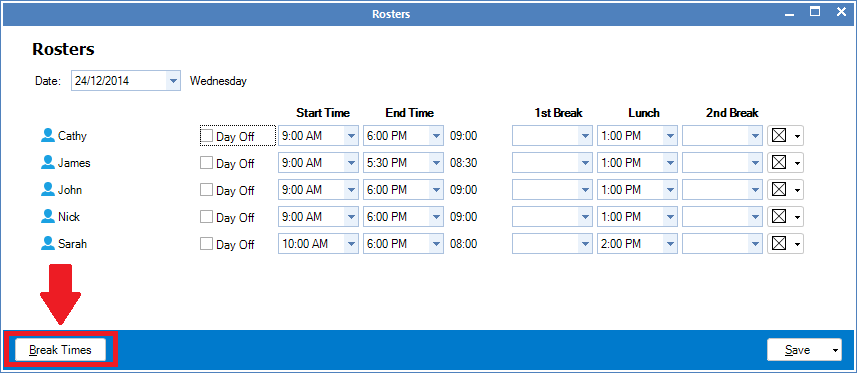
Step 2: The Rosters screen will display. Select the date you wish to set the roster to. Enter the relevant details. If you would like to set the employee's breaks, select Break Times. and once done, click Save.
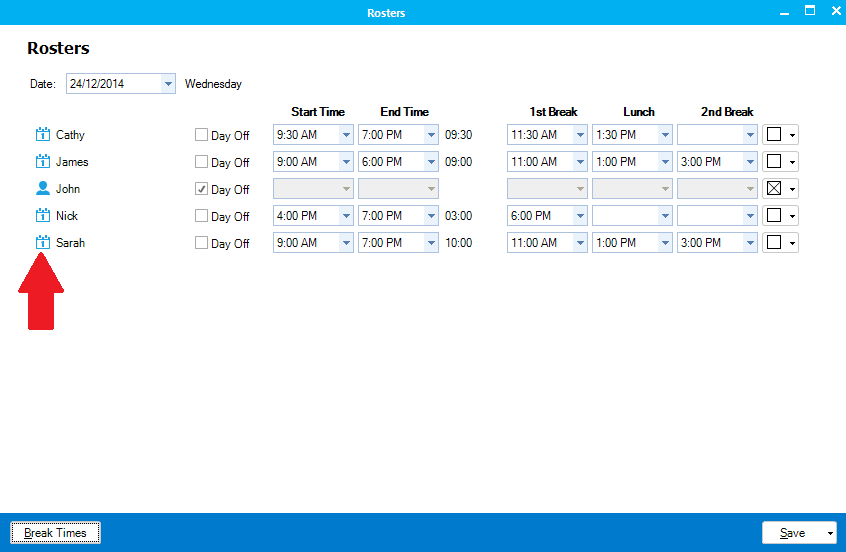
Once the rosters have been saved, the icon will change to a calendar.
Note: The Start, End time and Day Off is procured from the employee's default hours. This is found within the Employee's card.
FIELDS
Day Off: Click this box if the employee is not working on that day
Date: Enter the date you wish to create/edit the roster on
Start Time: Enter the start time for the relevant employe
End Time: Enter the end time for the relevant employee
1st Break: Enter the time in which the relevant employee can go on their first break, if applicable
Lunch: Enter the time in which the relevant employee can go on their rostered lunch break
Second Break: Enter the time in which the relevant employee can go on their second break, if applicable
Colour boxes: Click to assign a colour to an employee to make viewing rosters easier
Issues:
Problem 1: Duplicate name in Rosters.
Solution: This can be cause by using the clock in/out outside their rostered hours. To overcome this, simply set both names to same time and click save.
YouTube Video:
0 Comments